Looking to add a touch of rustic charm to your home or find that perfect handmade gift? These DIY wooden coaster ideas are wonderfully practical and can be as simple or as intricate as you like.
They’re a fantastic way to use up scrap wood, protect your furniture, and add a personalized touch to your coffee table or kitchen.
Get ready to craft some beautiful, functional pieces that are sure to impress!.
Table of Contents
Natural Branch Coasters from Fallen Limbs
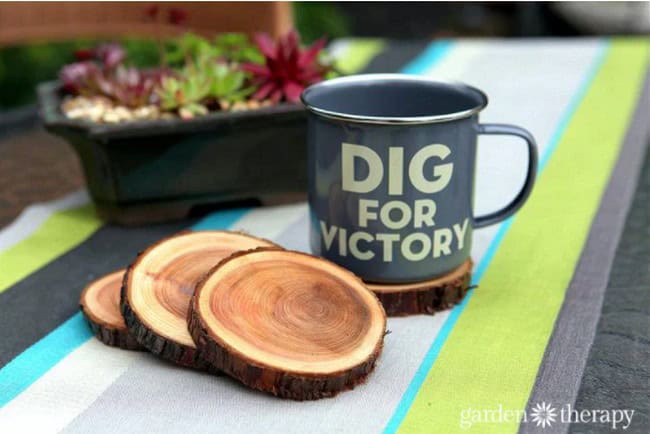
Give a fallen tree limb new life by transforming it into unique, one-of-a-kind coasters.
These natural beauties showcase the wood's grain and story, making them a charming addition to any home.
Simply slice branches into thick pieces, sand them smooth (keeping the bark for texture!), and seal them with varnish.
They're a fantastic conversation starter and a lovely way to bring a piece of nature indoors..
Pro Tip: For extra protection and a slightly darker, 'wet' wood look, use a clear satin varnish with a slight amber tint. Be sure to dry your wood thoroughly before cutting to minimize cracking.
See the full tutorial: Natural Branch Coasters from Fallen Limbs
Multi-Wood Strip Coasters with Holder
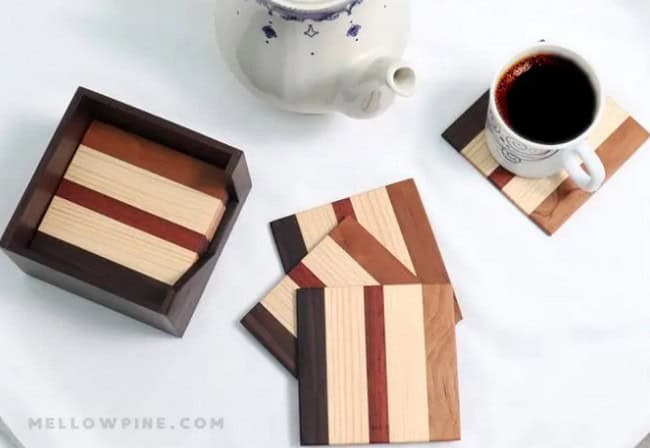
Create sophisticated coasters by combining different wood species, like pine, cherry, and rosewood, for a beautiful striped effect.
Cut and plane your wood to uniform thicknesses, glue them together, and then slice into coasters.
A matching holder adds a polished touch.
This project is a great way to use up wood scraps and results in a truly classy, custom set..
Pro Tip: If you don't have a planer, you can achieve a similar striped look by gluing together pre-cut wood strips of varying thicknesses and then carefully sanding them flat after the glue dries.
See the full tutorial: Multi-Wood Strip Coasters with Holder
Metallic Dipped Wood Slice Coasters
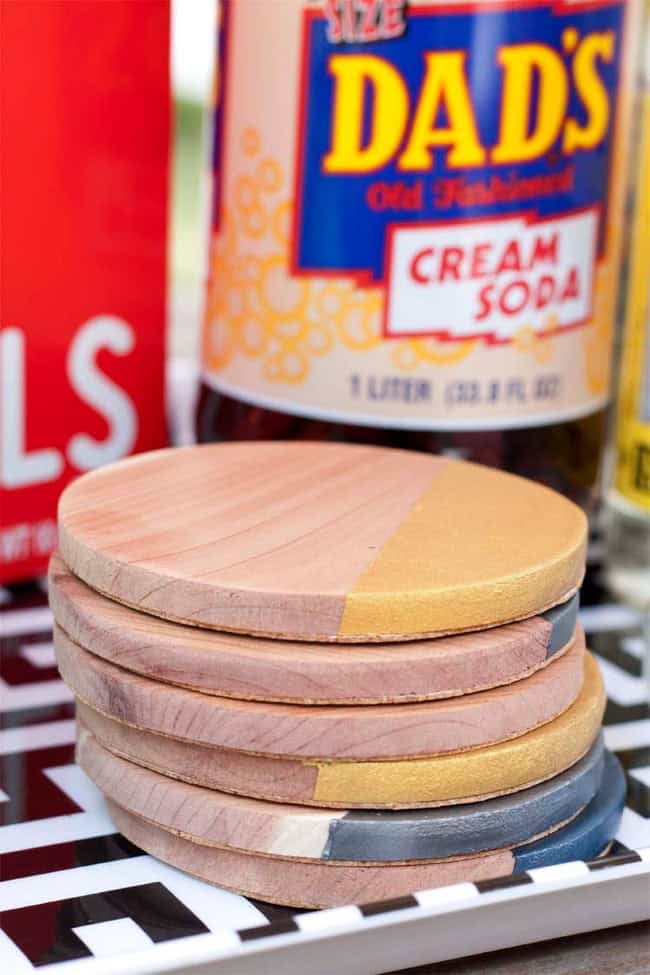
Elevate simple wood slices with a modern touch by dipping half of each coaster in metallic paint.
Using leftover wood planks or purchased wood rounds, simply mark off a section with painter's tape, dip into your chosen metallic paint (gold, pewter, or tin work beautifully), and let dry.
Adding cork backing keeps them from slipping and protects your surfaces..
Pro Tip: For a cleaner paint line, try using a high-quality painter's tape and ensure the wood surface is completely dry and smooth before applying.
See the full tutorial: Metallic Dipped Wood Slice Coasters
DIY Star Wars Themed Wood Coasters
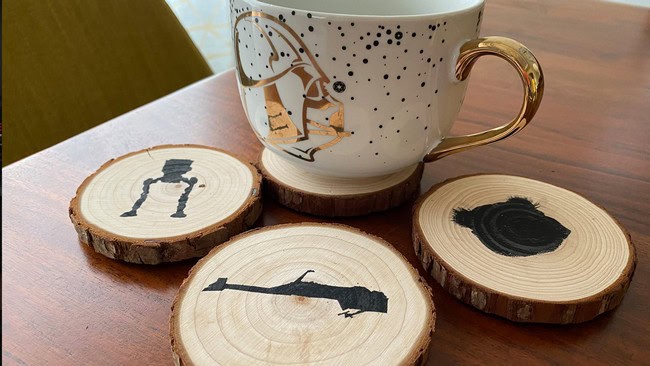
Bring a galaxy far, far away to your tabletop with these fun Star Wars-themed wood coasters.
Whether inspired by the Endor forest or other iconic elements, these coasters are a subtle nod for any fan.
They're typically made from wood slices and can be customized with wood burning or simple paint techniques to evoke your favorite characters or symbols..
Pro Tip: Consider using wood burning tools to add intricate Star Wars symbols or character silhouettes for a truly unique and durable design.
See the full tutorial: DIY Star Wars Themed Wood Coasters
Decoupaged Tree Branch Coasters
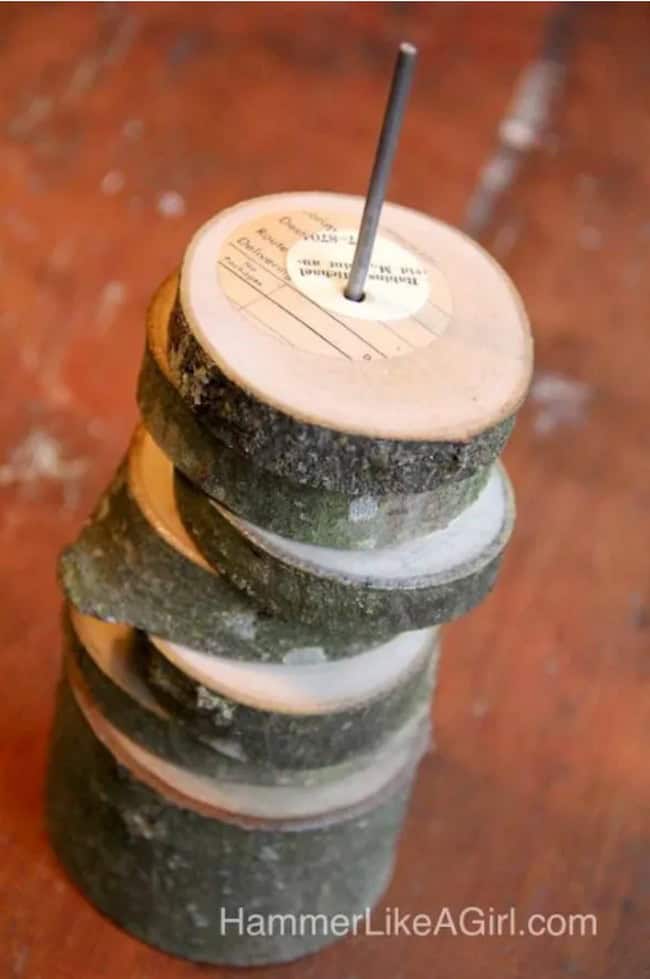
Combine natural wood with decorative paper for eye-catching coasters.
After cutting and drying wood slices from a branch, you can decoupage them with vintage book pages, maps, colorful patterns, or meaningful quotes.
A protective coating of Mod Podge Hard Coat and then a clear polyurethane seal the design and make them ready for use..
Pro Tip: For a truly artistic look, layer different pieces of ephemera or use a combination of paper and paint before sealing with Mod Podge and a clear finish.
See the full tutorial: Decoupaged Tree Branch Coasters
Geometric Color Block Wooden Coasters
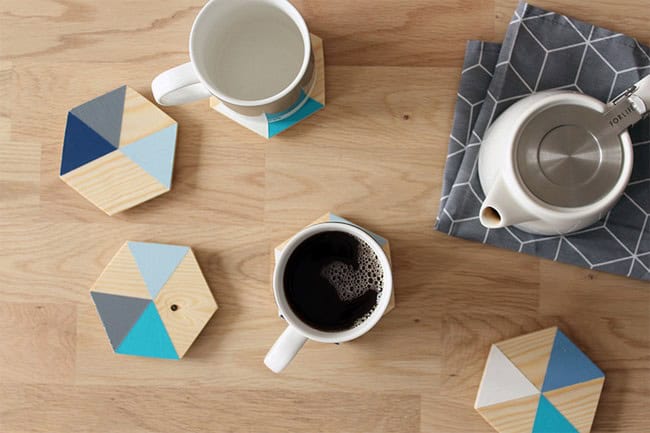
Give your coasters a modern, graphic look by adding geometric color blocks.
Start with wood pieces, carefully tape off sections, and paint them in contrasting colors.
Peeling the tape while the paint is still wet creates a crisp line.
Multiple layers and colors can build up a stylish, custom design that complements contemporary decor..
Pro Tip: Experiment with different shapes beyond squares or circles, like hexagons, and use painter's tape to create sharp, angled lines for a dynamic design.
See the full tutorial: Geometric Color Block Wooden Coasters
Painted Wood Slice Coasters with Monograms
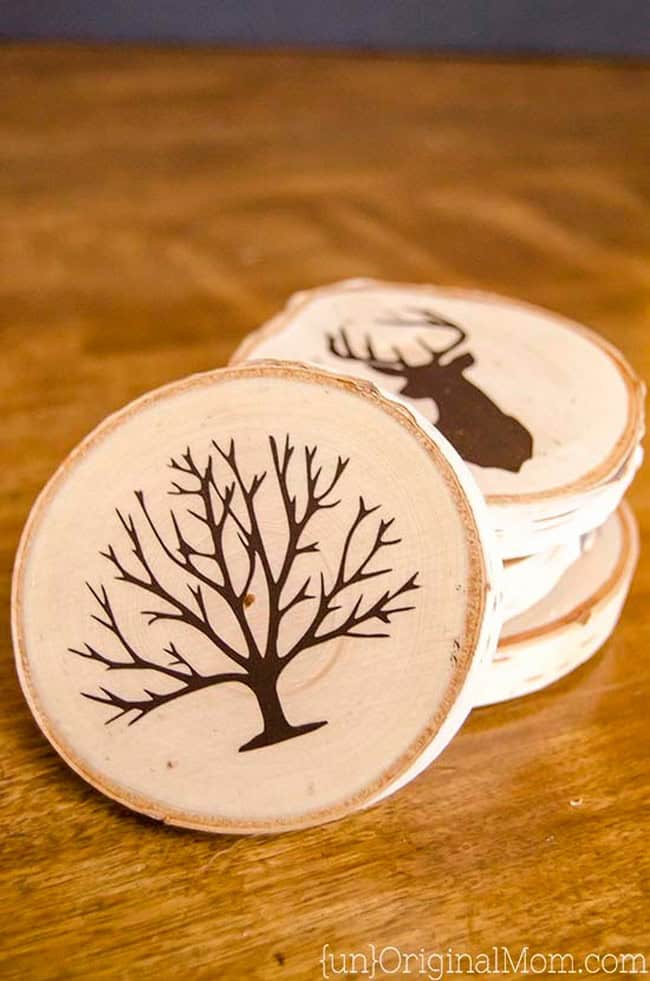
Personalize simple wood slices by painting them with monograms or custom designs.
You can create stencils using vinyl cutters or even freehand your designs.
Apply acrylic paint, let it dry, and then seal with a clear varnish for durability and a nice finish.
Adding cork backing ensures they won't scratch furniture..
Pro Tip: If you don't have a vinyl cutter, you can easily find pre-made monogram stencils at craft stores, or try a simple silhouette design painted freehand.
See the full tutorial: Painted Wood Slice Coasters with Monograms
Wood Burned Coasters for a Rustic Touch
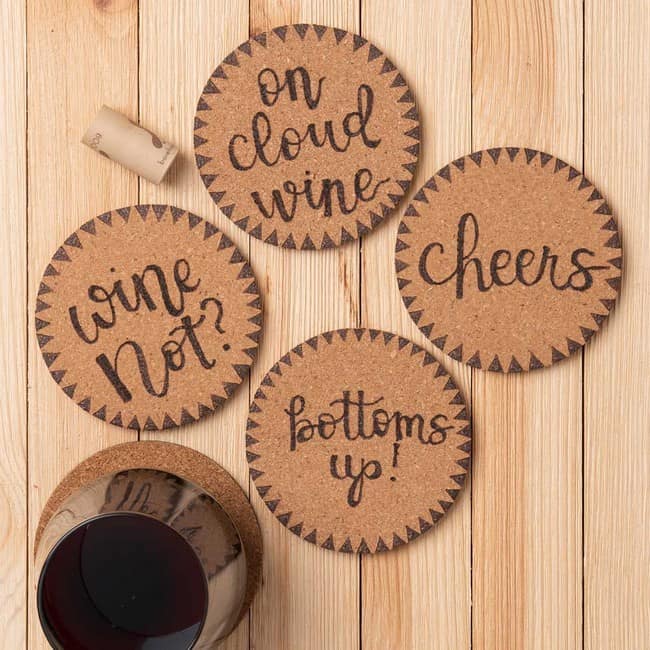
Add a unique, artisanal touch to wood coasters using a wood burning tool.
You can create intricate patterns, names, or symbols, giving them a warm, handmade feel.
After burning your designs onto wood slices or rounds, seal them with a protective finish like furniture wax or polyurethane.
These make fantastic personalized gifts..
Pro Tip: Practice your wood burning techniques on scrap wood first to get a feel for the tool, and consider using different tips for varying line thicknesses and shading effects.
See the full tutorial: Wood Burned Coasters for a Rustic Touch
DIY Painted Wooden Round Coasters
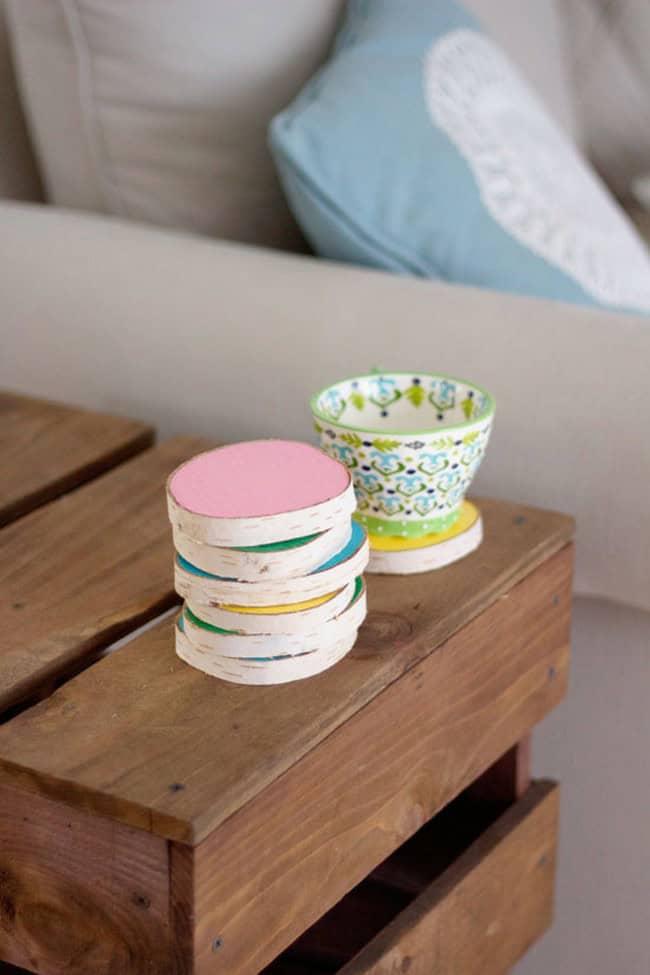
These simple wood round coasters are perfect for a quick and budget-friendly project.
If you find a suitable log, you can slice your own, or purchase pre-cut rounds.
Painting one side with a contrasting rim and leaving the other side natural gives you versatility.
A coat of varnish protects the paint and wood, making them both pretty and practical..
Pro Tip: Instead of paint, try using wood stains in different colors to create a more subtle, natural-looking design on your wood rounds.
See the full tutorial: DIY Painted Wooden Round Coasters
Symmetrical Striped Wooden Coasters
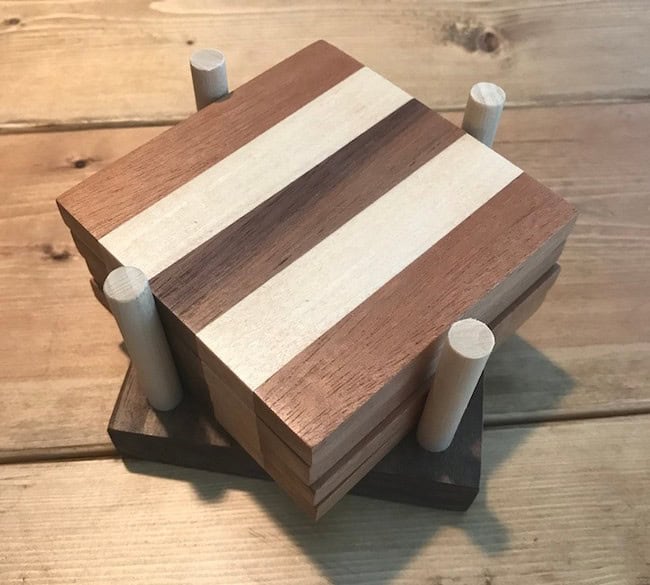
Craft elegant coasters by combining contrasting wood strips like oak, maple, and walnut.
Join them edge-to-edge, ensuring smooth surfaces with a jointer and table saw before gluing.
After the glue dries, plane them to your desired thickness and sand them to a fine finish.
These make for a sophisticated and durable set..
Pro Tip: When gluing up different wood species, be mindful of their grain direction to ensure the final product doesn't warp or cup unexpectedly.
See the full tutorial: Symmetrical Striped Wooden Coasters